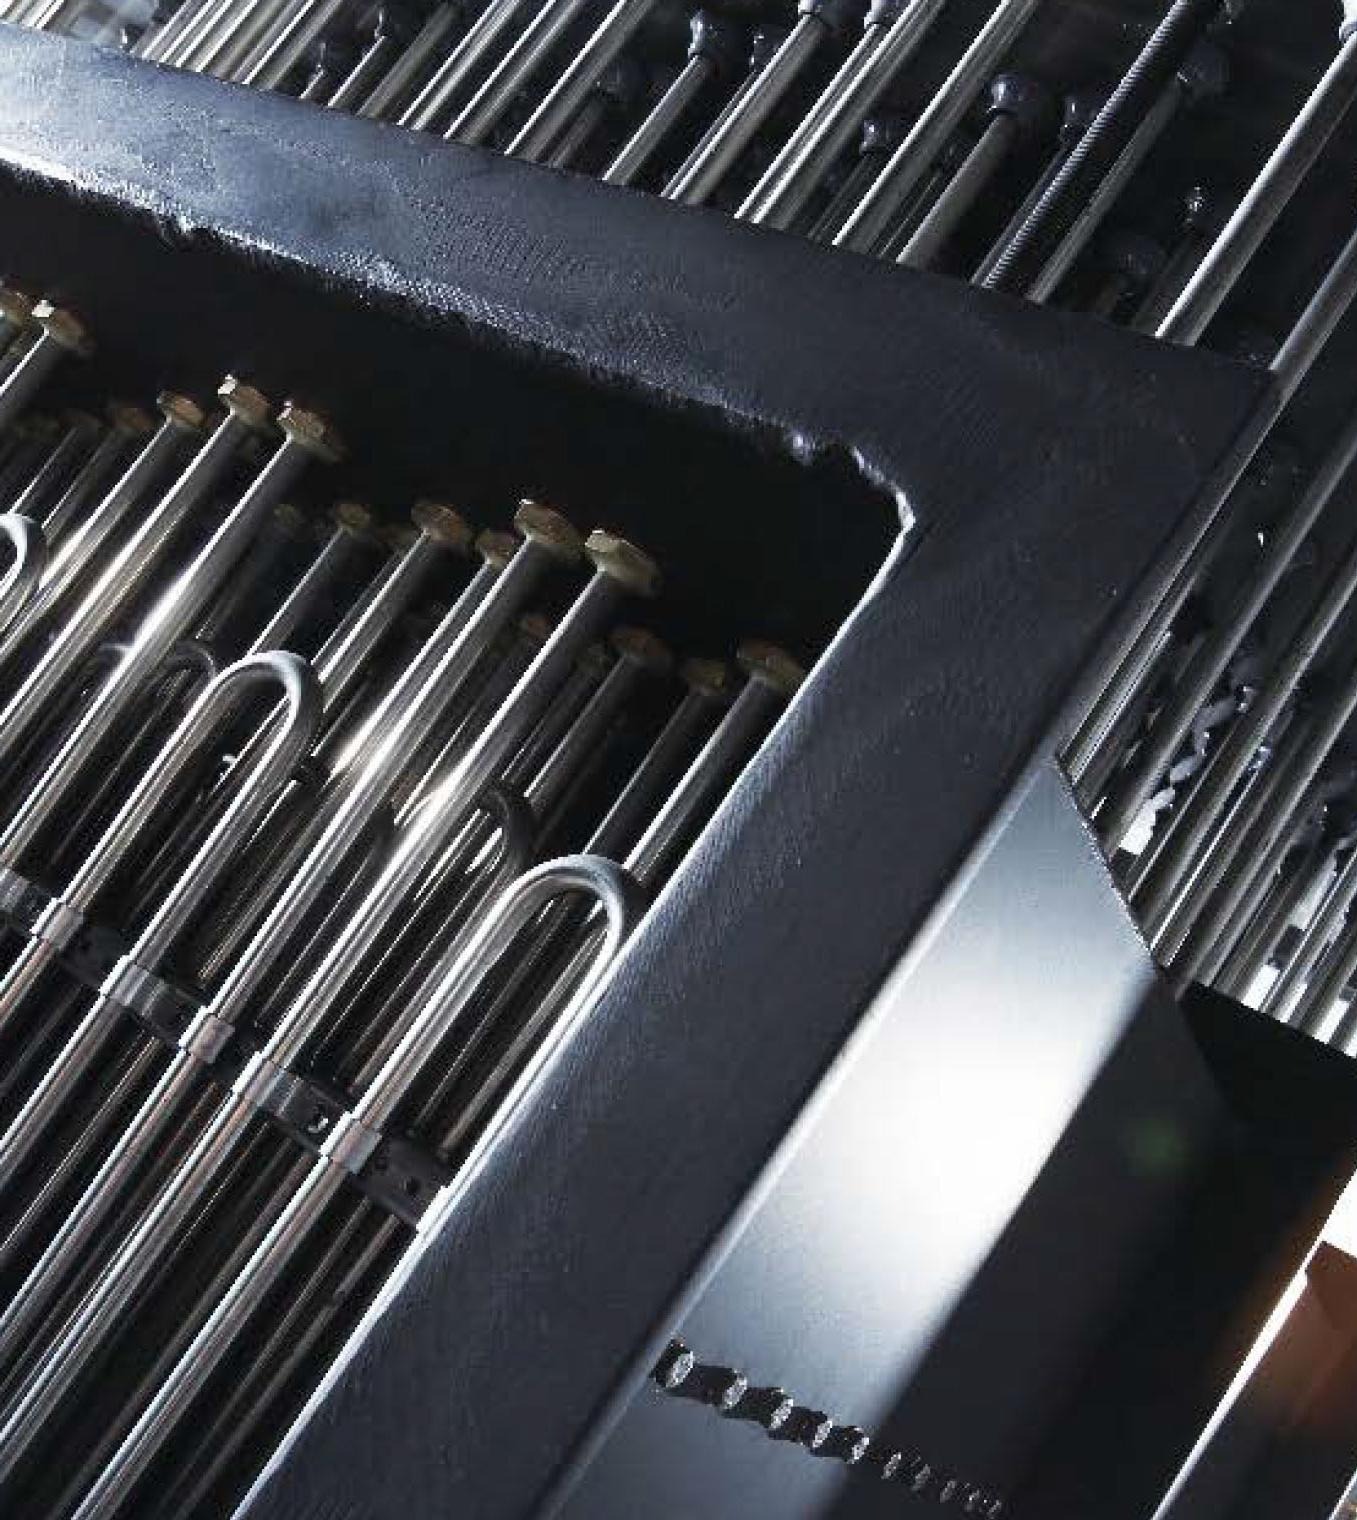
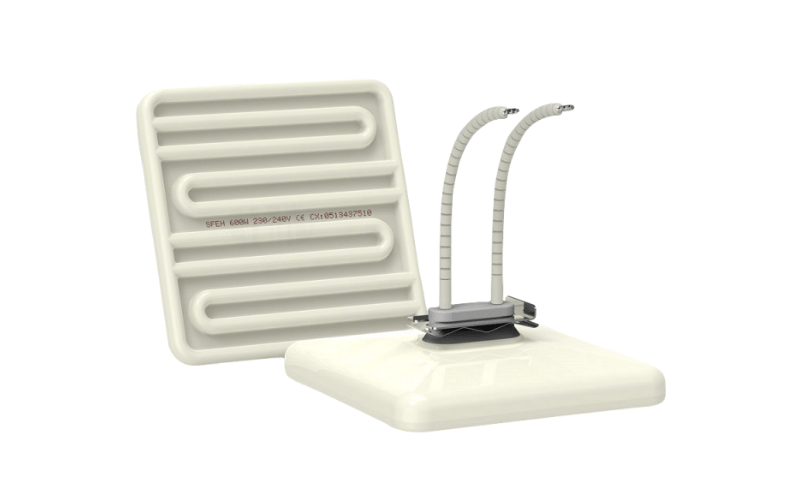
%201_element.jpg)
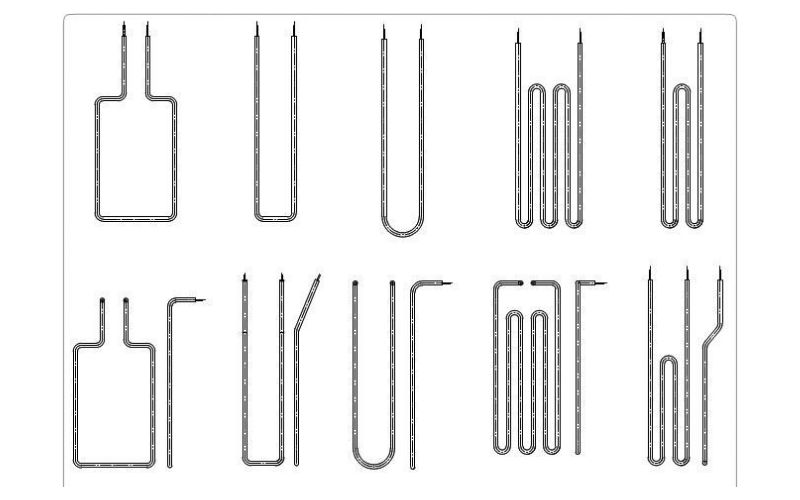
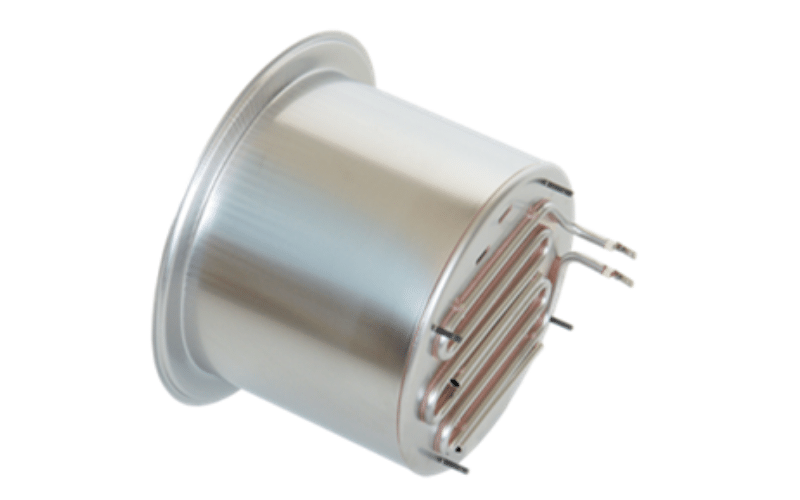
%201-industrial.jpg)
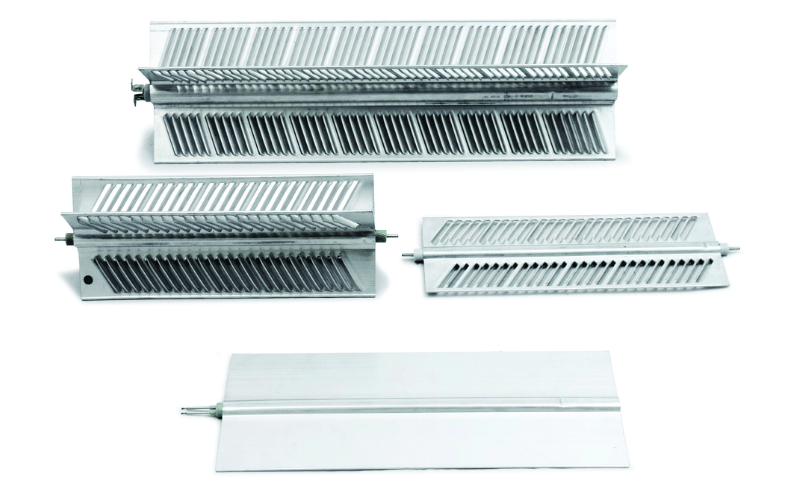
%201-projects.jpg)
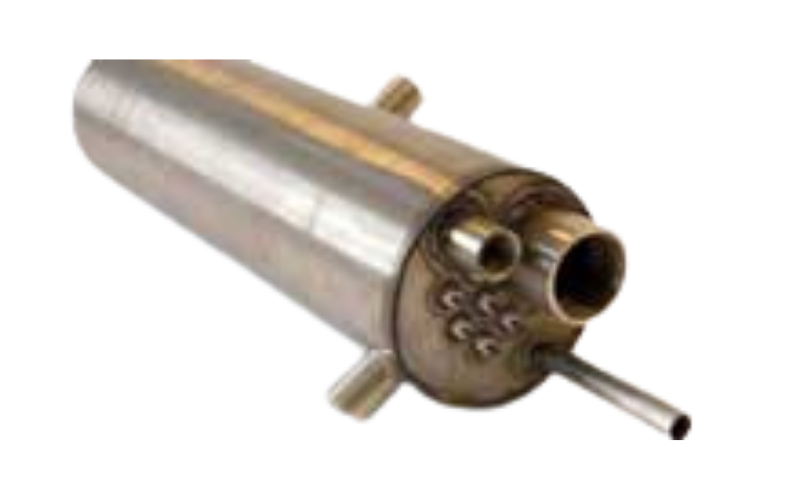
%20(2)%201500x500.jpg)

);)
Published date:
Replacing Immersion Heater Elements: All You Need to Know
Fact checked by Engineering and Technical Team members Wahiduzzaman, Jamie, and Ryan
This page will cover all you need to know about immersion heater element replacements, the cost to replace an immersion heater element and changing immersion heater elements. The following will also provide you with information on how to test an immersion heater element, and how long they last.
What is an Immersion Heater?
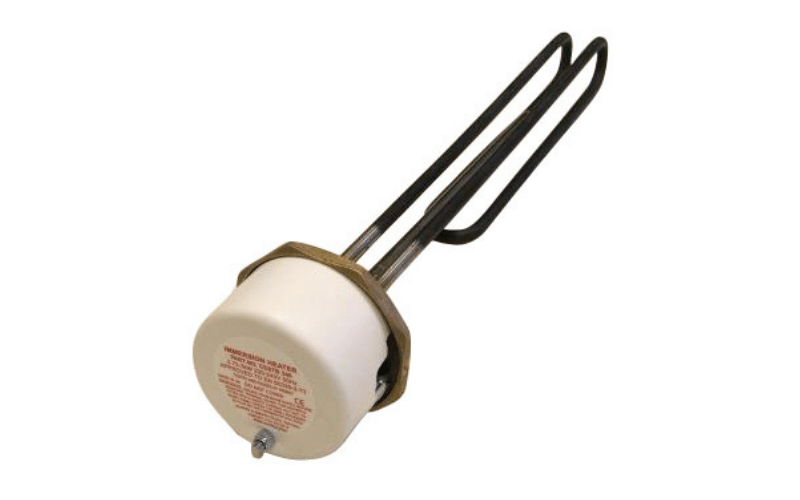
An immersion heater is an electric heating device installed in a water tank or cylinder to heat water directly. It consists of a metal element that is submerged in the water and heats up when electricity passes through it.
Having an immersion heater element is beneficial as it provides a reliable backup or primary water heating source, especially useful during boiler failures or in off-grid systems. It's also easy to control and install.
How to replace an Immersion Heater Element
Tools you'll need
- Immersion heater spanner or box spanner
- Adjustable wrench
- Screwdriver (flathead and Phillips)
- Pipe wrench or grips
- PTFE tape
- Replacement immersion heater element
- Hose or bucket (for draining)
- Multimeter (optional, for testing)
- Safety gloves and goggles
Step-by-Step Guide to Replacing an Immersion Heater Element:
- Turn Off Power and Water Supply
Switch off the electricity at the mains and isolate the water supply to the cylinder. Safety first. Double-check with a multimeter that there’s no power. - Drain the Cylinder
Attach a hose to the drain valve at the bottom of the cylinder or use a bucket. Open a hot tap to allow air in and help the water drain faster. - Remove the Electrical Cover
Unscrew the cover on the immersion heater to expose the wiring. Take a photo or label the wires to remember their positions, then disconnect them. - Unscrew the Old Element
Use an immersion heater spanner to loosen and remove the old element. This may require some force. Use a pipe wrench for extra grip if needed. - Fit the New Element
Wrap PTFE tape around the threads of the new element to ensure a watertight seal. Screw it in firmly but avoid over-tightening. - Reconnect Wiring and Refill
Reconnect the wires as per your photo or labels. Close the drain valve and refill the cylinder with water. - Test the Heater
Once full, restore power and test the heater. Check for leaks and ensure the element heats correctly.
Cost of replacing an Immersion Heater Element
Replacing an immersion heater element yourself is a cost-effective and rewarding DIY project. The element itself usually costs just £15 to £40, making it an affordable fix. By doing the replacement yourself, you can save an additional £80 to £150 in labour costs that a plumber or electrician would typically charge.
With the right tools and a step-by-step guide, most homeowners can complete the job confidently. Saving you money. However, for those unexperienced with electrical work, we recommend hiring an electrician to prevent injury.
Replacing an Immersion Heater Element in a harsh environment
Choose a corrosion-resistant element: Purchase Incoloy or titanium elements, which are more resistant to limescale and corrosion than standard copper.
- Use a waterproof electrical connection box: Protect wiring from moisture and condensation.
- Apply extra PTFE tape or a sealing compound: Ensure a watertight seal in environments prone to leaks or pressure fluctuations.
- Check for limescale buildup: In hard water areas, descale the cylinder before fitting the new element to improve efficiency and lifespan.
- Inspect the cylinder for rust or wear: Harsh environments can accelerate tank degradation, replace or repair if needed.
- Use anti-seize compound on threads: Prevents the element from becoming stuck due to corrosion, making future replacements easier.
- Ensure proper earthing and insulation: Moisture increases the risk of electrical faults. Double-check all safety measures.
- Test with a multimeter before and after installation: Confirms safe operation and helps detect any early faults.
How do you test an Immersion Heater Element?
To test an immersion heater element, you’ll need a multimeter set to the resistance (ohms) setting. First, turn off the power at the mains and disconnect the wiring from the element. Place one probe on each terminal of the element. A healthy element typically shows a resistance reading between 10 and 20 ohms. If the reading is very high or infinite, the element is likely faulty.
Also, test for a short by placing one probe on a terminal and the other on the metal casing. If there’s any reading here it indicates a fault, and the element should be replaced.
How long do Immersion Heater Elements last?
Immersion heater elements typically last between 3 to 5 years, though high-quality elements in ideal conditions can last longer.
Signs of failure include water not heating properly, tripping electrics, or strange noises like popping or hissing, which may indicate limescale buildup. Regular testing and maintenance can help extend the element’s lifespan and ensure efficient performance.